
How To Wood Veneer Corners

Products Conference Tesano Wood Turning Wood Conference Table Woodworking Joints

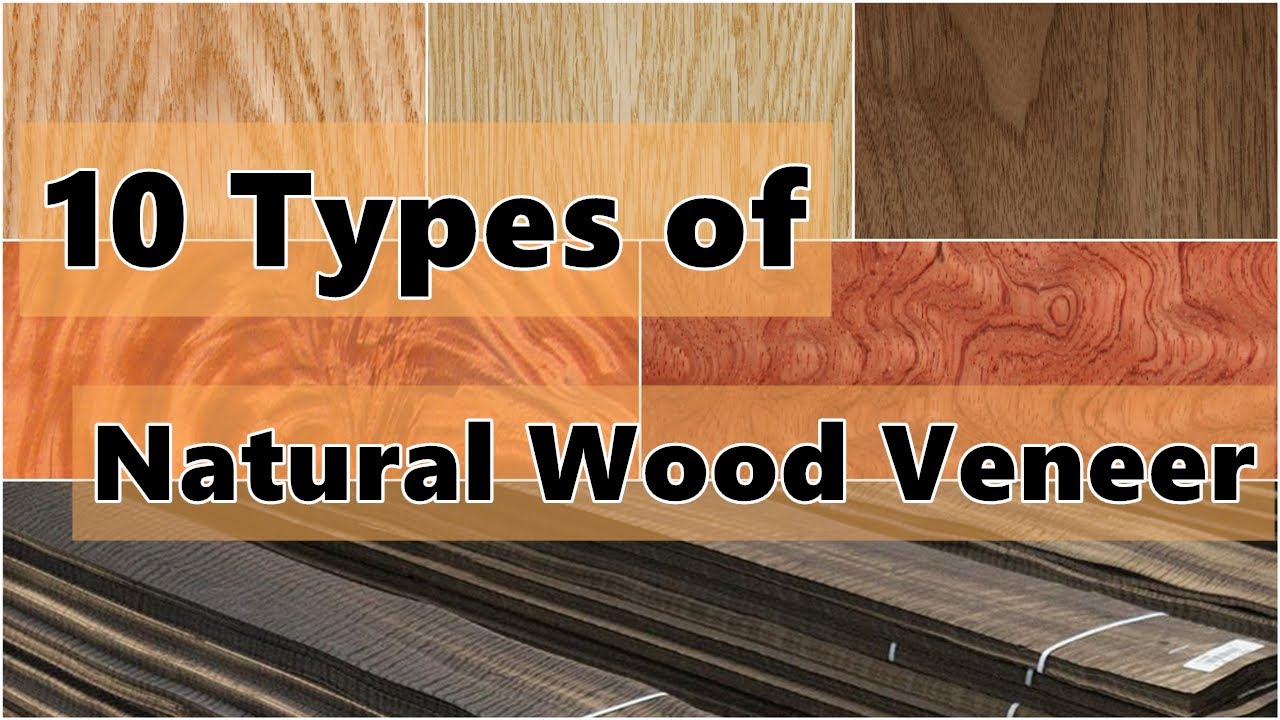
Wood Veneer Wood Cladding Wood Veneer Veneers

Pin On Repairs

Birch Plywood Corner Joint Wood Craft Changing Chair Elise Zoetmulder Ontwerp Interieur Hout Draaien Huis Interieur

Corner Miter Tenon Japanese Joinery Woodworking Joints Diy Projects Engineering

Close Up Of Exquisite Walnut Veneer Matching Showcasing Sap Heartwood Figure And Knots Walnut Veneer Wood Veneer Veneers

Learned that from Lynn Sweet when I was studying at UK.
How to wood veneer corners. Place your veneer at the edge of a bench or table with the line of your cut overhanging it slightly. But if I was wrapping pre existing boxes I would cut a notch in the corner of a piece of paper so that when you fold it over the cut meets perfectly at the ridge where the two round overs meet in the corner then use that piece of paper as a template to cut the veneer. The way I learned to do veneered corners is to cut a 1818 groove down the corner.
Now cut the paper perpendicular to the edge of the board and back to the point of curvature - at about 1 spacing. Progressively fold those strips around the edge and tape into place allowing them to. Another point is the paper backing is going to be about the same color as the veneer.
Cut a piece of craft paper the same size as your veneer and place that on your board. Hold the file at a sharp angle to the plywood when filing. Other than doing the veneer before you cut the miters like production factory that is what you get.
Then veneer the two sides. Roll back the clock 100 years veneer was 18 or thick it could be mitered. Lightliy sand the corner any gaps will be invisible.
Glue in a piece of solid wood same species as veneer. We use tape across the joint about every 16 inches and then a long piece down the full length. Adjust the router bit so the bearing rides against the straightedge.
You dont want a sharp or ragged edge exposed which may snag and splinter the veneer. Make sure the hardwood corner is flush to both planes of the substrate. I found it helpful to secure the putty by gently pushing it into the damaged area with my fingers.

Crafted Plywood Corner Detail Beautifully Finished Carpentry And Joinery Plywood Furniture Joinery

European Walnut Door Love The Rich Earthy Multicolored Horizontal Match Wood Veneer Walnut Door Doors Interior

Mitered Outside Tongue And Groove Corner Google Search Wood Cladding Exterior Cladding Timber Cladding

Beautiful Walnut The Untapped Visual Impact Of The Natural Diversity Of Rustic Walnut Architectural Plywood To Make Wood Veneer Hardwood Plywood Flush Doors

Maya Romanoff Ajiro Fanfare Wood Veneer Oa Wood Veneer Wallcovering 24 Yds 21 9 M Wall Coverings Wood Veneer Veneers
Pin On Natural Wood Veneers

Wood Floor Corner Crossing Room

Eckschrank Palisander Italien 60er Jahre En 2020 Avec Images Decoration Interieure Bibliotheque Metal Meuble

Tabitha Credenza White Oak Wood Wood Veneer Design

Grimslov Door Brown 24x60 Ikea Veneer Panelling Cleaning Clothes Clear Acrylic

Corner Cupboard In Precious Wood Veneer Syrian Work Circa 1900 1930 Wood Veneer Corner Cupboard Unique House Design
Classic Wood Veneer Textures Pack Veneer Texture Wood Veneer Wood

Stacked Stone Tile What Is Stacked Stone Tile How To Install Stacked Stone Tile Https Www Stackedstonetile Com Kamin
