
How To Prepare And Paint A Bathroom Ceiling

5 Tips For Painting A Small Bathroom Happily Ever After Etc Painting Walls Tips Small Bathroom Paint Bathroom Ceiling Paint

Ceiling Paint For Bathroom Home Painters Toronto

How To Paint A Ceiling White Ceiling Paint Painting Bathroom Painted Ceiling
What Type Of Paint Do You Need For Bathroom Ceilings Lick

How To Paint Your Trim White Painting Trim Painting Trim White Paint Colors For Living Room
What Type Of Paint Do You Need For Bathroom Ceilings Lick
Paint in Sections With a Roller The best way to paint a ceiling is to use a paint roller and work in grid-like sections of 3 square feet to 5 square feet each.
How to prepare and paint a bathroom ceiling. Generously dip the roller cover in the paint then thoroughly roll it out on the upper area of the paint tray. Look for moisture-resistant primers that are made for bathrooms. So clear your area lay down a drop sheet then grab yourself a ladder brush tape roller and extension pole and tray.
All good projects begin with good preparation. Paint a square area about 2 by 2 feet using angled strokes that roughly make a W on the wall then fill in the blank areas of the W with a series. Begin by cleaning your ceiling.
If youve got any mould get rid of it with a bleach solution before you begin. Paint With the Roller Fit the roller cover on the roller frame. After a bit of research I decided that Polycell Finishing Skim was the right product for the job.
Dip the sash brush into the container and begin cutting in. Cut in around the edges of the ceiling and around any fixtures - cutting in is where use a paint brush to paint areas that are too tight for rollers such as at corners or the trim. As you dont need to load up your brush try tipping a little paint into a small container to prevent it from dripping.
In this video learn the right way to paint a ceiling. As you can see the ceiling was still really uneven. Moreover a lack of primer makes it easier for mold to make a return.
Once your bathroom ceiling is clean its time to prime and seal. Youll need to sand the paint coats off your plaster walls and ceiling before you paint. Setting floodlights up below will make seeing where youve already painted easier.

Painting A Bathroom In Simple Steps Guides

What Kind Of Paint Should You Use For A Bathroom Ceiling

How To Fix Peeling Paint On The Bathroom Wall Ceiling Small Bathroom Remodel Bathrooms Remodel Small Remodel

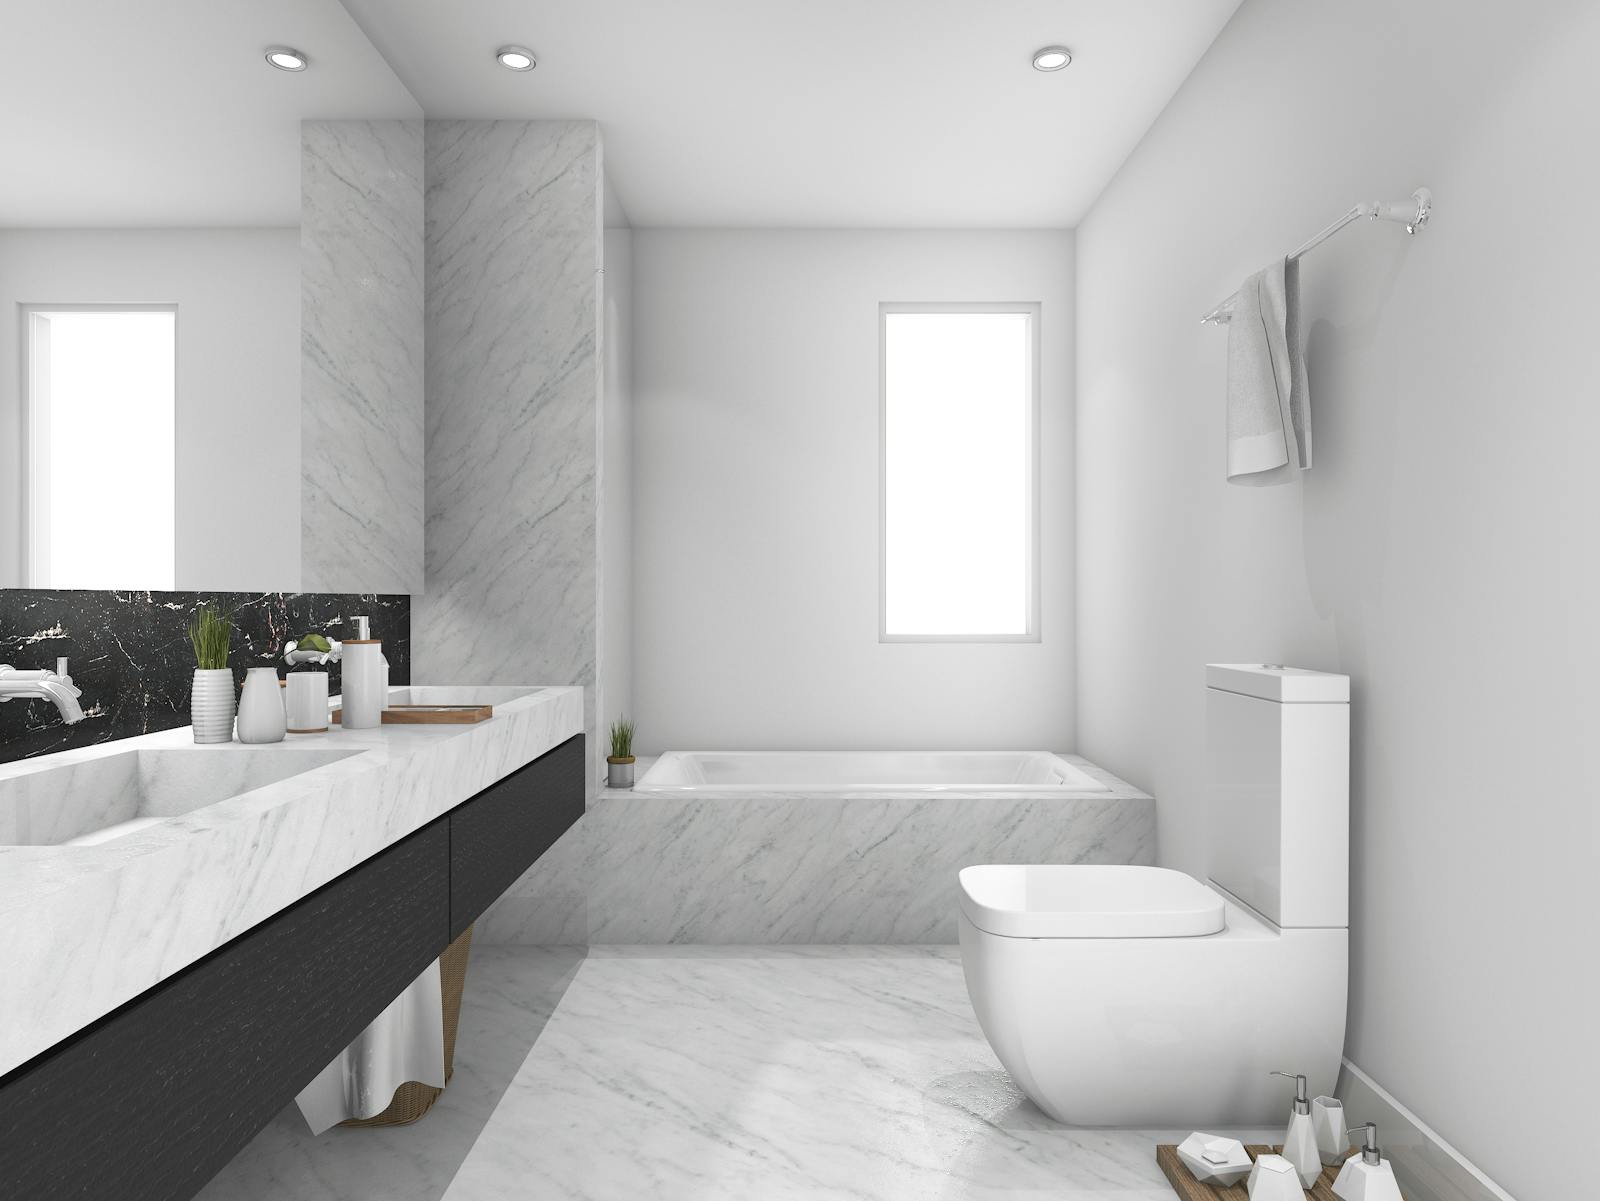
Gorgeous White And Gray Marble Bathroom Small Bathroom Bathrooms Remodel Bathroom Makeover

Fall S Most Stylish Paint Color Trends Have Us Swooning Rental Bathroom Round Mirror Bathroom Bathroom

Painting The Ceiling In A Bathroom Home Painters Toronto

Jennifer Gizzi On Instagram Proof That Paint Can Do Magical Things Can You Believe This Is The Same Bath In 2021 White Concrete Countertops Paint Cans Painting Tile

It Is Also Advised That You Have A Tape Measure On Hand When Preparing To Begin Your Next Ba Full Bathroom Remodel Budget Bathroom Remodel Small Full Bathroom

Ceiling Paint For Bathroom Home Painters Toronto

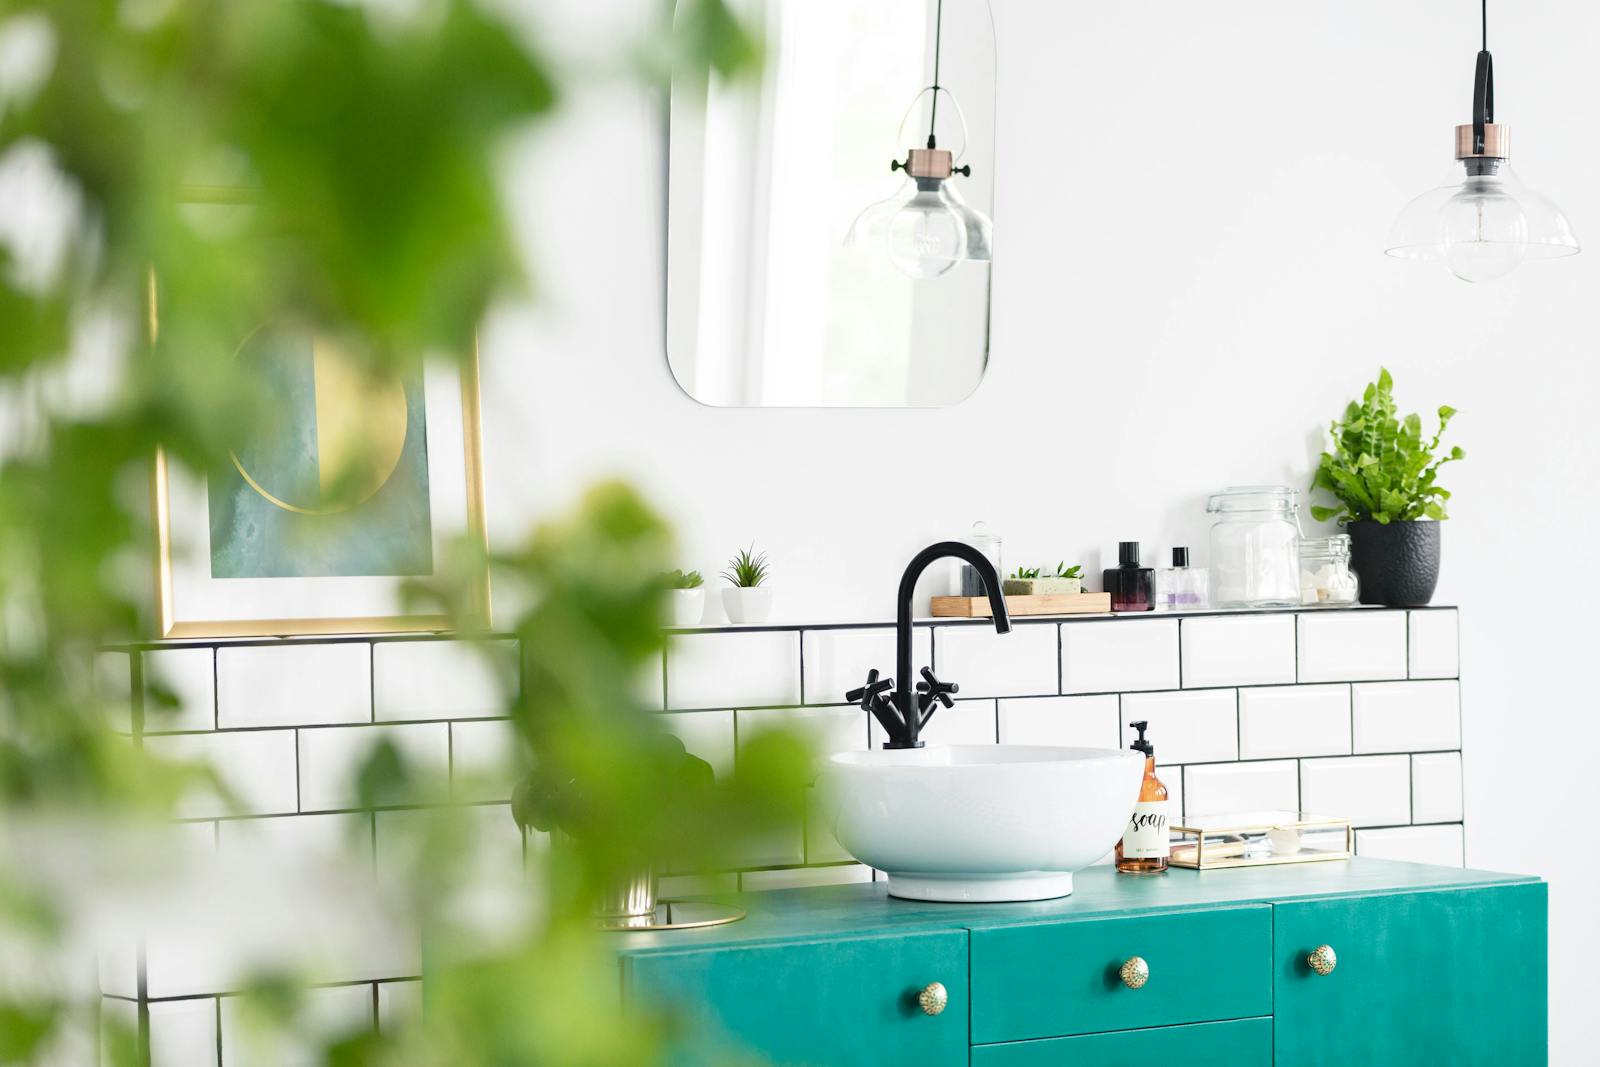
East Coast Tradition Meets Socal Comfort In Manhattan Beach Rue Small Dark Bathroom White Bathroom Tiles Green Cabinets Bathroom

Pin On For The Home

Stylish Bathroom Updates Stylish Bathroom Home Remodeling Home Diy

Bathroom Paint Color Ideas With Dark Cabinets Bathroom Cabinet Colors Dark Wood Bathroom Modern Bathroom Design
